
5 Essential Tips for Recording Drums in Your Home Studio
Let's face it, recording drums isn't always the easiest instrument to capture. Sure, you could slap some microphones around the kit and see what happens, but to get great sounding drums, there are some things to consider.
In a perfect world, recording drums in a spacious room with high ceilings is ideal. But we don't live in a perfect world and not all of us have this luxury. So, what then?
Whether you're building a home recording studio or just want to record drums in your bedroom, here are five things that should be considered:
1. Choose the Best Position for the Drum Kit
Before setting up those drums, think about the space available to you. For example, if you're able to build a studio either from the ground up or convert an existing space, where would the highest ceiling peak be located? If your ceiling is the same level throughout, think about the shape of your room.
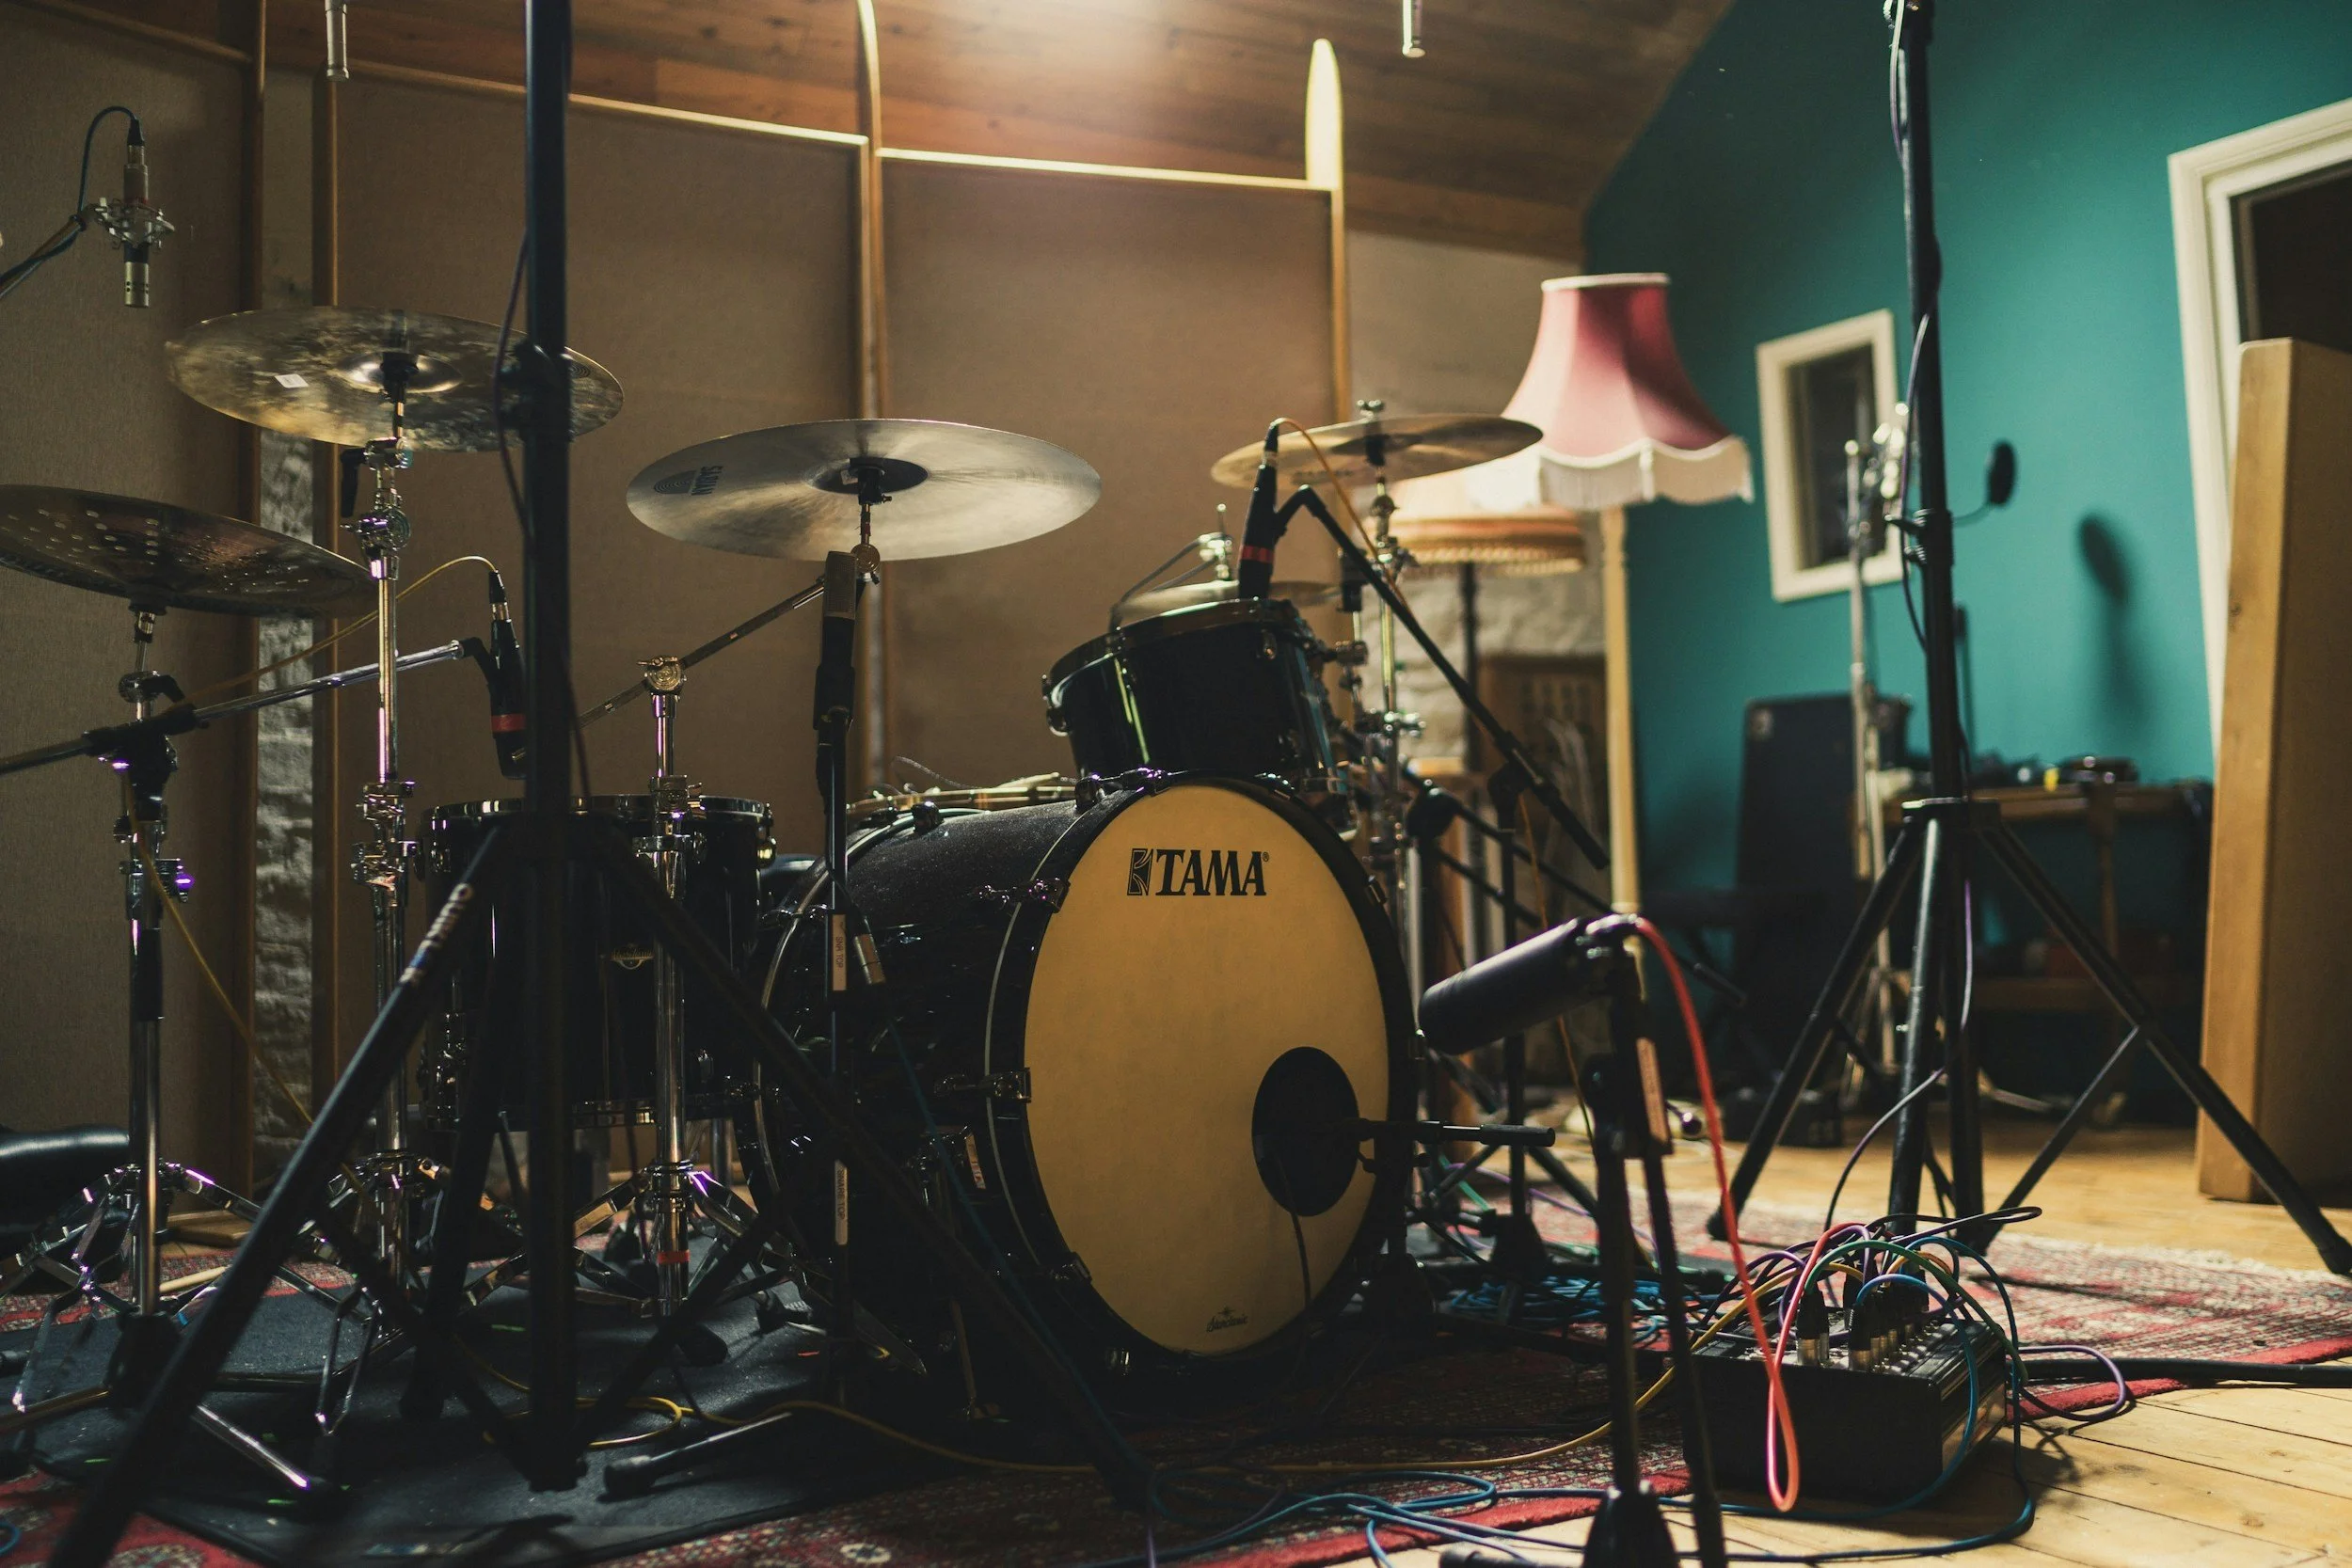
Choose a spot that has the least amount of reflection points, especially in front of the drum kit. For instance, if your room is narrow and long—set up the drums shooting down the length of the room. Consider using room acoustics simulation apps like REW (Room EQ Wizard) or even basic room mode calculators available online to identify problematic frequencies before committing to a setup.
2. Consider Your Environment
What I mean by "environment" is: Do you have neighbors close by who might file a noise complaint? How about your family or roommates? Will pounding on drums during a session cause problems? If so, isolation might not be the complete answer. In this case, you'll want to think about soundproofing.
In short, to properly soundproof your studio or drum booth, you need mass. My point here is that you don't necessarily need isolation—you need to keep sounds from coming IN or OUT. Once that's accomplished, then you're ready to start selecting the drum kit position in your studio.
Modern alternatives: If soundproofing isn't feasible, consider electronic drum kits or hybrid setups. Today's e-drums from companies like Roland, Yamaha, and Pearl have become incredibly realistic, with mesh heads and advanced triggering that can satisfy both practice and recording needs. You can even trigger high-quality samples through software like Superior Drummer 3, GetGoodDrums, or Steven Slate Drums for professional-sounding results without disturbing anyone.
3. Define How You Will Record
Again, everyone's situation is different. What you really want to consider before investing significant time or money in your studio is what will the majority of your recording sessions entail? If you think you'll record a lot of bands playing and tracking all at once, then a separate drum room isn't always necessary.
You may want to simply use the biggest part of your room for the drum kit, then isolate amps as needed. This way, the band can really feed off each other's energy, resulting in a better performance.
However, if you're primarily doing solo projects or tracking one instrument at a time (which is increasingly common in home studios), prioritize flexibility over live room size. Many modern productions are built track by track, making isolation and versatility more valuable than capturing a full band simultaneously.
4. Consider Spot Isolation
Let's say you've got a great spot picked in your studio for your drums. You've decided not to isolate the entire drum kit in a booth, but there are still some bleed issues when recording the drums alone. In this case, I would suggest spot isolation. There are numerous products and techniques that can help you in this situation.
For example, companies like Primacoustic make isolation shields for individual microphones, such as a snare mic that's getting too much hi-hat bleed. These products also serve as microphone protectors for those unwanted stick hits.
DIY solutions: You can also create effective spot isolation using moving blankets, DIY gobos (go-betweens) made from PVC pipe and acoustic fabric, or even strategically placed pillows and cushions. The goal is to minimize bleed between close-proximity sound sources without breaking the bank.
5. Invest in Portable Acoustic Treatment
Last but not least, portable acoustic treatment may actually be your best studio investment ever. What I'm referring to is solid acoustic treatment panels that either have wheels or can be moved around easily. Companies like GIK Acoustics, Primacoustic, and Auralex all make fantastic modular solutions.
The great thing about these products in a word is: flexibility. Let's say you're recording guitar one day, drums the next, or just need some separation in your studio—portable acoustic panels are your answer. They allow you to adapt your room's acoustics based on what you're recording, rather than committing to a permanent setup that might not work for everything.
Budget-friendly options: If commercial panels are outside your budget, consider building your own using Rockwool or Owens Corning 703 insulation wrapped in acoustic fabric. Plenty of tutorials exist on YouTube, and the results can rival professional products at a fraction of the cost.
One Last Thing
At the end of the day, recording drums at home might not even be the best answer for your situation. Just because we can do something ourselves doesn't mean we always should.
If that's the case, consider booking a studio session for just the drums, or explore remote recording services where professional drummers track high-quality drums in proper studios and send you the stems.
This approach often provides that solid rhythmic foundation while allowing you more time and creative energy to finish the project at home, where you're most comfortable.
Either way, determine the best solution for your situation and get to it!
Connect

Free eBooks
Free resources including the home studio guide, snare drum tuning, gear lists and 10 essential ways to get better sounding drums.