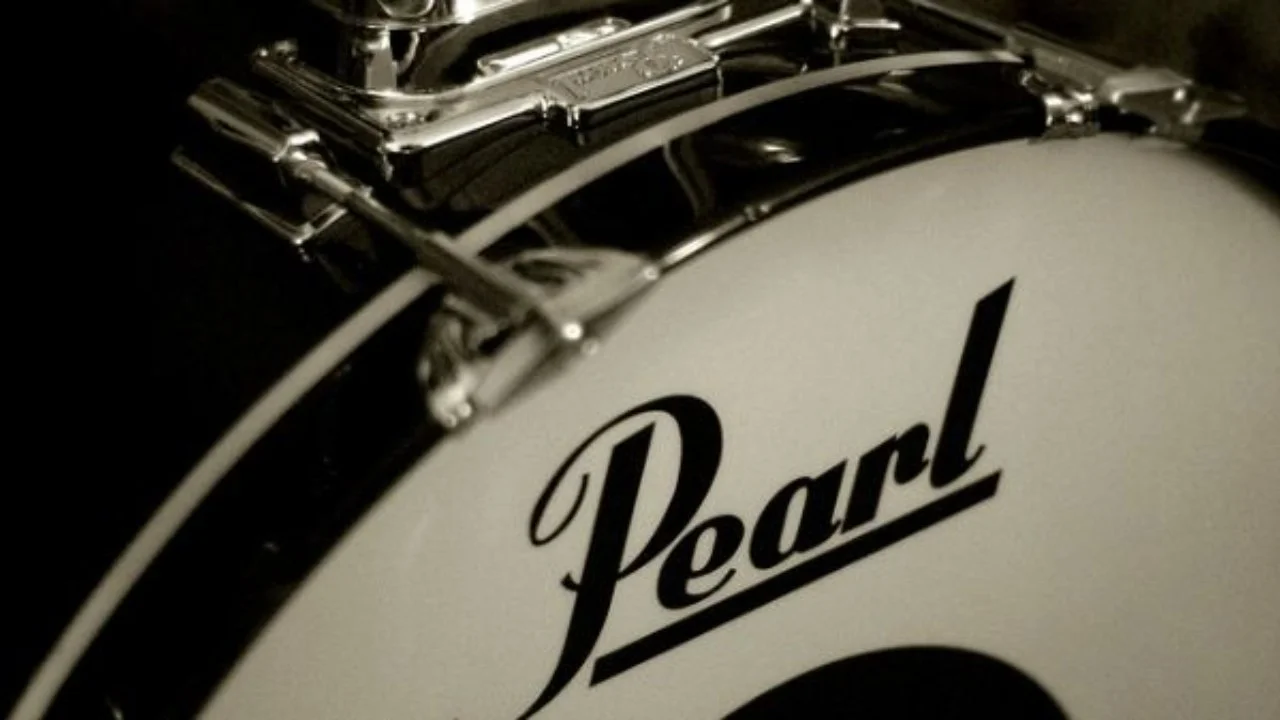
Kick Drum Tuning: The Foundation of Your Sound
Your kick drum isn't just another piece of your kit – it's the foundation that everything else builds on. While we've covered snare tuning, your kick drum deserves just as much attention because these two drums together create the backbone of every song.
Think about it: when you're listening to music in your car or through headphones, what makes you feel that track in your chest? That's your kick drum working. When it's weak or poorly tuned, the entire song loses its power.
More Than Just a Big Tom
Technically, your bass drum is just a massive tom turned on its side. The same basic principles apply, but the execution is what makes all the difference. Most bass drums come with a logo head on the resonant side, which works fine for most situations. For the batter side, choose something that defines the sound you're after.
In my experience, most studio sessions and live situations call for low-end punch that you can feel as much as hear.
The Heartbeat of the Track
Next time you're listening to music, focus specifically on the kick drum. It's the backbeat that drives everything forward – that "oomph" you feel in your stomach when a song really hits. When the kick is thin and weak, the whole track feels lifeless.
Ask any mixing engineer and they'll tell you the same thing: no amount of EQ or compression can fix a poorly tuned kick drum at the source. Getting it right from the start saves everyone time and delivers better results.
The Simple Method That Works
Here's the approach I learned years ago that works every single time, regardless of your drum size: tune to the lowest possible pitch.
This might sound overly simple, but it's exactly what gives your kick drum that bottom end it was designed for.
Step 1: Seat the Head Position and seat the head just like your toms. Using a criss-cross pattern, tighten each tension rod until you hear a noticeable tone while seating the head properly.
Step 2: The Wrinkle Method Once the head is seated and centered, press down in the center with your palm. While maintaining that pressure, turn each tension rod until you see a small wrinkle appear. Repeat this around the entire head until you have wrinkles all the way around.
Step 3: Release and Reveal Remove your palm from the head – the wrinkles disappear! This is the lowest possible pitch you can achieve from your bass drum.
Step 4: Repeat for Resonant Side Do the same process for the resonant (logo) side. I typically keep this side slightly lower in pitch than the batter side.
Step 5: Fine-Tune Make tiny adjustments to each rod to ensure all wrinkles are smoothed out. Re-seat if needed and repeat the process.
Why This Method Works
The beauty of tuning to the lowest possible pitch is that it maximizes your drum's natural low-end capabilities. You're not fighting against the drum's design – you're working with it to achieve exactly what it was built to do.
Different kick drums will have different "lowest possible pitches" based on their size, depth, and construction. But this method ensures you're getting the maximum low-end from whatever drum you're working with.
Your Next Steps
Take some time with your kick drum setup. Don't rush through this process – the foundation of your sound deserves careful attention. Once you've achieved that lowest possible pitch, you can always make small adjustments based on the musical context or your personal preferences.
Remember, a great kick drum sound starts with proper tuning. Everything else – muffling, head choices, mic placement – builds on this foundation.


